[Android] Jetpack Compose 제트팩 컴포즈 사용해보기 - (3-2) 레이아웃 (List)
[Android] Jetpack Compose 제트팩 컴포즈 사용해보기 - (3-1) 레이아웃 (Modifiers, Slots, Scaffold)
2021.08.12 - [안드로이드/Jetpack-Compose] - [Android] Jetpack Compose 제트팩 컴포즈 사용해보기 - (2) 기초 사용법 [Android] Jetpack Compose 제트팩 컴포즈 사용해보기 - (2) 기초 사용법 2021.08.10 - [안..
hanyeop.tistory.com
에서 이어지는 글입니다.
이번엔 리스트에 대해 알아보려고 한다.
이 글은 Google 공식문서를 기반으로 작성되었습니다.
Working with lists
Compose에서 리스트를 만들기 위하여
Column, Row를 추가하거나, Lazy list를 사용할 수 있다.
이전 기초사용법 글에서 Lazy list는 한번 다루었지만, 좀 더 자세히 다뤄보려고 한다.
Column, Row로 리스트 만들기
@Composable
fun SimpleColumn() {
    Column {
        repeat(100) {
            Text("Item #$it", style = MaterialTheme.typography.subtitle1)
        }
    }
}
기본적으로 Column에 텍스트들을 삽입하여
리스트뷰를 만들 수 있다.
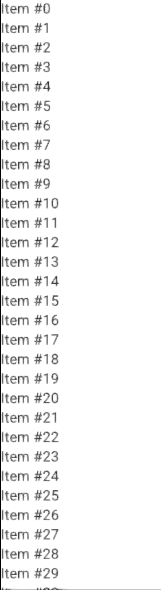
하지만 이렇게 만들게되면 스크롤 기능이 없어 화면 밖의 아이템들을 볼 수 없다.
@Composable
fun SimpleList() {
    // We save the scrolling position with this state
    val scrollState = rememberScrollState()

    Column(Modifier.verticalScroll(scrollState)) {
        repeat(100) {
            Text("Item #$it", style = MaterialTheme.typography.subtitle1)
        }
    }
}
그래서 rememberScrollState로 현재 위치를 저장해주고,
verticalScroll을 추가해주어 스크롤이 가능하도록 한다.
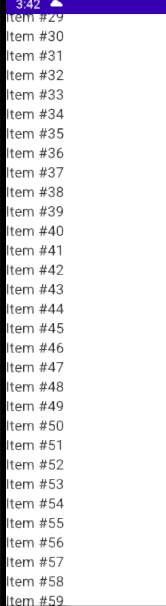
이제 모든 아이템을 확인할 수 있게 되었다.
하지만 이렇게 만들게 되면 생성될 때 화면 밖의 모든 아이템을 한번에 생성하게 되므로
퍼포먼스 면에서 떨어진다.
LazyList 만들기
그래서 compose로 LazyList (LazyColumn, LazyRow) 를 제공한다.
기존의 리사이클러뷰와 유사한 기능을 한다.
차이점으로는 리사이클러뷰는 뷰를 재사용하는 반면에 LazyList는 compose를 재사용하지 않는다.
@Composable
fun SimpleLazyList() {
    // We save the scrolling position with this state
    val scrollState = rememberLazyListState()

    LazyColumn(state = scrollState) {
        items(100) {
            Text("Item #$it", style = MaterialTheme.typography.subtitle1)
        }
    }
}
위와 같이 LazyColumn을 통해 아까 만들었던 UI와 동일한 UI을 좀더 효율적으로 만들 수 있다.
LazyList는 블록 내부에 LazyListScope 를 제공하여 이 곳에 item 들을 넘겨줌으로써 레이아웃을 만들 수 있다.
@Composable
fun LazyList() {
    // We save the scrolling position with this state
    val scrollState = rememberLazyListState()

    LazyColumn(state = scrollState) {
        item {
            Text(text = "First item")
        }

        // Add 5 items
        items(5) { index ->
            Text(text = "Item: $index")
        }

        // Add another single item
        item {
            Text(text = "Last item")
        }
    }
}
예시로 item 여러개를 넣어보면
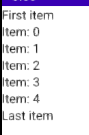
이런식으로 잘 표시되는 것을 확인할 수 있다.
@Composable
fun LazyList() {
    // We save the scrolling position with this state
    val scrollState = rememberLazyListState()

    LazyColumn(state = scrollState,
        contentPadding = PaddingValues(horizontal = 16.dp, vertical = 8.dp),
        verticalArrangement = Arrangement.spacedBy(4.dp)
    ) {
        item {
            Text(text = "First item")
        }

        // Add 5 items
        items(5) { index ->
            Text(text = "Item: $index")
        }

        // Add another single item
        item {
            Text(text = "Last item")
        }
    }
}
UI를 좀 더 자연스럽게 하기 위하여
contentPadding 으로 리스트 전체의 패딩을,
verticalArrangement 으로 아이템 사이 간의 간격을 지정해줄 수 있다.

가장자리에서 좀 더 떨어지고 아이템 사이의 간격이 넓어진 것을 확인할 수 있다.
LazyList의 더 자세한 기능(페이징, 헤더 등..) 과 LazyListScope에 대한 설명은
https://developer.android.com/jetpack/compose/lists?hl=ko
목록 | Jetpack Compose | Android Developers
목록 많은 앱에서 항목의 컬렉션을 표시해야 합니다. 이 문서에서는 Jetpack Compose에서 이 작업을 효율적으로 처리하는 방법을 설명합니다. 스크롤이 필요하지 않은 경우 (방향에 따라) 간단한 Colu
developer.android.com
https://developer.android.com/reference/kotlin/androidx/compose/foundation/lazy/LazyListScope
LazyListScope | Android Developers
developer.android.com
에서 각각 확인할 수 있다.
리스트에 이미지 추가하기
로컬 이미지 넣기
저번의 CardView를 만들때 사용했던 Image 를 활용하면 리스트 아이템에 이미지를 넣을 수 있다.
@Composable
fun ImageListItem(index: Int) {
    Row(verticalAlignment = Alignment.CenterVertically) {
        Surface(
            modifier = Modifier.size(50.dp),
            shape = CircleShape,
            color = MaterialTheme.colors.onSurface.copy(alpha = 0.2f)
        ) {
            // Image goes here
            Image(painter = painterResource(id = R.drawable.ic_baseline_heart_broken_24), contentDescription = "")
        }
        Spacer(Modifier.width(10.dp))
        Text("Item #$index", style = MaterialTheme.typography.subtitle1)
    }
}
리스트에 넣을 아이템을 정의하기 위한 composable을 작성해준다.
Image를 이용하여 로컬파일에 존재하는 이미지를 넣어주고
Spacer로 이미지 뒤에 공간을 삽입하여 텍스트와의 간격을 벌려준다.
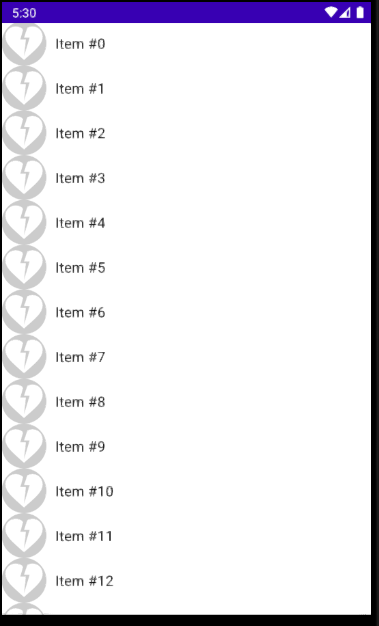
이미지가 잘 출력되는 것을 확인할 수 있다.
네트워크 이미지 넣기
하지만 어플리케이션을 사용할때 네트워크 통신을 하여 외부에 있는 이미지를 사용해야 할 경우가 많다.
이 경우 통신을 위해 기존에 사용하던 Glide, Coil 등의 라이브러리를 사용한다.
이 라이브러리들은 compose를 지원한다.
// coil
    implementation 'io.coil-kt:coil-compose:1.3.0'
여기선 코일을 사용하기 위해 종속성을 추가해주고
<uses-permission android:name="android.permission.INTERNET" />매니패스트에 인터넷 권한을 추가해준다.
@Composable
fun ImageListItem(index: Int) {
    Row(verticalAlignment = Alignment.CenterVertically) {
        Image(
            painter = rememberImagePainter(
                data = "https://developer.android.com/images/brand/Android_Robot.png"
            ),
            contentDescription = "Android Logo",
            modifier = Modifier.size(50.dp)
        )
        Spacer(Modifier.width(10.dp))
        Text("Item #$index", style = MaterialTheme.typography.subtitle1)
    }
}
이제 코일을 사용할 수 있게 해주는 rememberImagePainter 을 사용하여 외부 이미지를 가져온다.
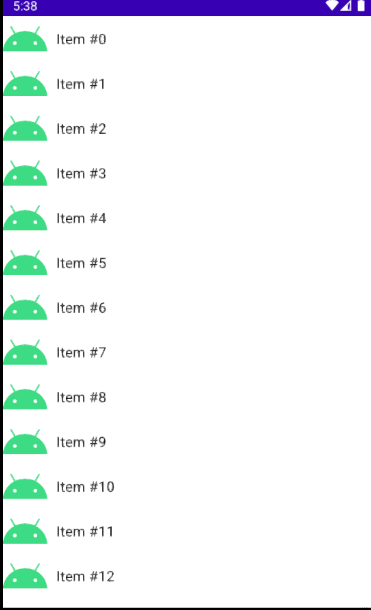
잘 불러와진 것을 확인할 수 있다.
List scrolling
리스트에서 스크롤 위치를 수동으로 제어할 수 있다.
위에서 리스트들을 만들 때 크게 활용하지 않은 rememberLazyListState 를 활용하여
그 위치로 이동시켜준다.
@Composable
fun ScrollingList() {
    val listSize = 100
    // We save the scrolling position with this state
    val scrollState = rememberLazyListState()
    // We save the coroutine scope where our animated scroll will be executed
    val coroutineScope = rememberCoroutineScope()

    Column {
        Row {
            Button(onClick = {
                coroutineScope.launch {
                    // 0 is the first item index
                    scrollState.animateScrollToItem(0)
                }
            }) {
                Text("Scroll to the top")
            }

            Button(onClick = {
                coroutineScope.launch {
                    // listSize - 1 is the last index of the list
                    scrollState.animateScrollToItem(listSize - 1)
                }
            }) {
                Text("Scroll to the end")
            }
        }

        LazyColumn(state = scrollState) {
            items(listSize) {
                ImageListItem(it)
            }
        }
    }
}
최상단으로 가는 버튼과 최하단으로 가는 버튼을 추가하고
.animateScrollToItem 를 통해 부드러운 스크롤을 직접 할 수 있다.
scrollToItem 를 사용하면 별도의 애니메이션 없이 바로 스크롤 된다.
단 여기서 스크롤 되는 동안 리스트의 아이템들이 UI 를 만드는, 리스트의 렌더링 과정이 차단되지 않도록 하기위하여
코루틴을 활용하여 비동기로 스크롤해준다.
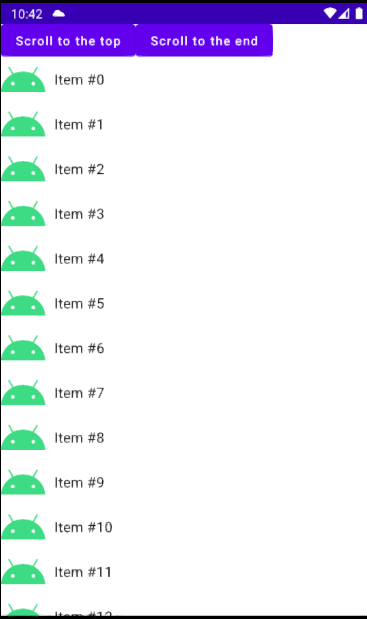
이제 버튼을 눌러 직접 스크롤 할 수 있다.
이 외에도 다양한 방식으로 LazyList를 사용할 수 있다.
기존의 리사이클러뷰처럼 사용빈도가 상당히 클것이기 때문에 좀 더 자세히 공부해봐야 할 것 같다.
이제 다음글에선 커스텀 레이아웃을 만드는 방법을 알아보려고 한다.
https://github.com/HanYeop/Jetpack-Compose
GitHub - HanYeop/Jetpack-Compose: Jetpack Compose 사용해보기
Jetpack Compose 사용해보기. Contribute to HanYeop/Jetpack-Compose development by creating an account on GitHub.
github.com
참조
https://developer.android.com/jetpack/compose/lists?hl=ko
https://developer.android.com/codelabs/jetpack-compose-layouts?hl=ko#5
https://developer.android.com/reference/kotlin/androidx/compose/foundation/lazy/LazyListScope